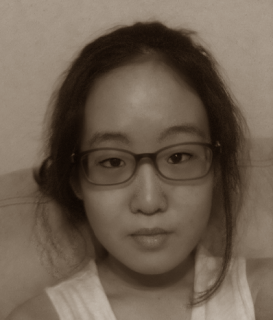
1.Focused shot
I used Gaussian Blur tool to make it blurred.
I changed the opacity about 80% and used brush tool to paint a layer mask.
I painted the whole face, especially the eyes and the lips to highlight.
Then, I changed the Hue/Saturation to give subtle change.
I made little darker and lower the Saturation.

2. Vignettes
At first, I desaturated the image.
I selected around the face using the Elliptical Marquee tool and used Brightness/Contrast adjustment
to create the vigneete.
Then, I used Lens Correction effect.
I did not see huge difference, it was just dark image.
I used Radial Gradient tool and Dodge/Burn tool.
Now the edges around the face looks darker.

3. Sepia tone
This tutorial was the shortest tutorial.
I selected Image>Mode>RGB Color and clicked More Yellow and More Red once.
It looked like old-fashioned image.
However, it would be better if the image is full-body shot.


No comments:
Post a Comment